
Blog
Why Pay for Photoshop Every Month?

Sep
In May 2019 Adobe quietly debuted new pricing for its photographer bundle. The monthly subscription cost went from $9.99 to 19.99 in some countries. Adobe officials stated that they were ‘testing’ new pricing tiers. The reaction from photographers round the world was not pretty and Adobe didn’t quite follow through with their plan, but it left a bitter taste.
Currently you pay A$14.95/month in Australasia, which gives you full access to Photoshop, Lightroom and a 20 GB Cloud storage facility.
Photographers have started looking around at other image editors and discovered that many quite easily compete with Photoshop. In the following I want to introduce Affinity Photo, a program developed by the European-based software company Serif.
Overview of Affinity Photo
Affinity Photo is available for Mac and Windows platforms, as well as iPad. The program currently costs NZ$90 one-off.
Image 1 shows you the interface with the familiar toolbar on the left of the image. The working image was taken in Venice with an infrared camera. You can see the family of Healing Tools highlighted, familiar to everybody coming from Photoshop. Thankfully, you’ll also find that Affinity Photo has adopted many of the familiar keyboard shortcuts, which makes the transition easier.

Image 1 – The Affinity Photo Interface
Have a look at the five buttons on the top left, circled in red. These are modes specific to Affinity, called Personas: Photo Editing, Liquify, Raw Developing, Tone Mapping and Export. These Personas switch Affinity into different operating modes, translating into distinct toolbars, menu options and side panels.
Basic Image Handling

Image 2 – The HSL Interface
We are now in the left-most Persona where all the photo editing is done. On the right, underneath the histogram you’ll find a long list of Adjustments. They are all applied non-destructively on their own layer, corresponding to Photoshop’s Adjustment Layers.
I opened two controls for you to see in Image 1: the Colour Balance and the Brightness/Contrast interfaces. Most controls are intuitive, even for the beginner. I particularly liked the HSL interface which allows the user to fine-tune hue, saturation and luminosity of any particular colour (Image 2).
Image 3 shows you the Layers Palette with some Adjustment Layers and Layer Masks, which allow you to affect only part of the images.

Image 3 – The Layers Palette
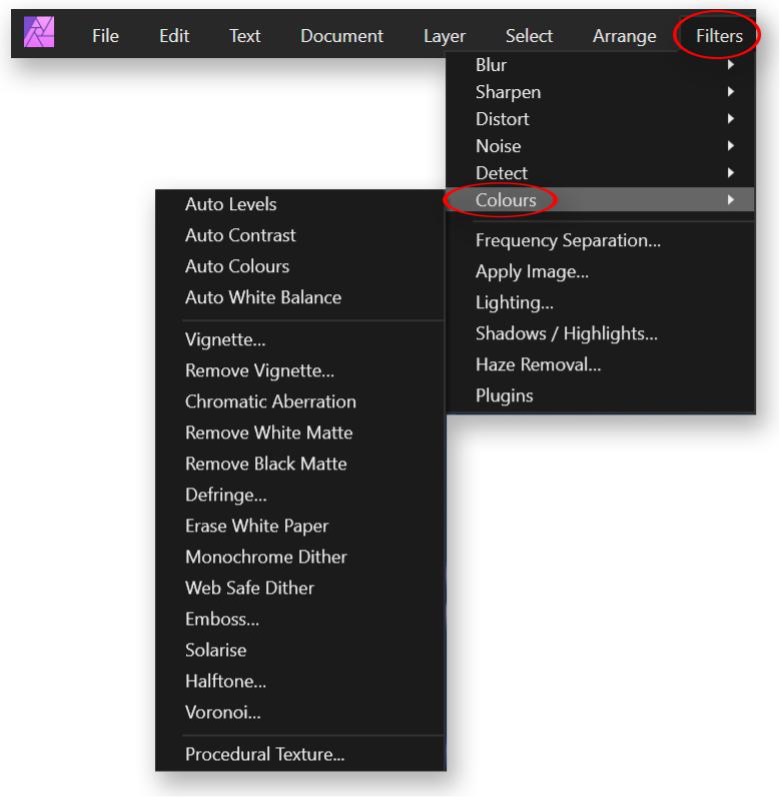
Image 4 – The Filters Menu
Affinity Photo has a large bank of filters. Image 4 shows you the Colours filter with its many options. Many (but not all) filters are available as Live Filter Layers, which act non-destructively like Adjustment Layers.
You’ll find all your familiar selection tools, not to mention all the other gadgets offered in the Tone Mapping and Liquify Personas. The Export Persona gives you a multitude of options for saving your images.
Should you get Affinity Photo?
Affinity Photo can be yours forever for the equivalent of less than half of a year’s subscription of Adobe’s photography package. The program might seem priced for the amateur, but the developers are keen to stress a professional feature set. You get CMYK and LAB colour space support – a must for the professional photographer.
If you are already familiar with Adobe’s flagship, it won’t take you long to orient yourself in Affinity. If photo editing beyond the basics is new to you, you’ll pick it up quickly.
In the next issue we’ll be looking at how Affinity Photo handles RAW files and how it compares with Adobe’s Lightroom.